Drill Gauge.
Last term we created a drill gauge to measure the size of drills.
The tools we used are Micrometer, Vernier Caliper, Engineer Square, scribe, 300mm rule, Centre punch, Hammer and Odd leg caliper.
Drill Gauge:
A drill gauge is a flat piece of material used to measure the size of a drill that we need so that we can make the right drills into the right material.

Marking out:
Marking out for the marking I had to use scribe and a square to mark out the lines to drill the holes.

Filing:
On my drill gauge, I used a file.

Micrometer:
We had to use a micrometer to measure the right drill size.
How to use a Micrometer.
1. Move the Thimble to the fully unlocked position.
2. Place your work in between the Spindle and the Anvil.
3. Move the Thimble with the ratchet stop so that it moves till it clicks.
4. Read the Sleeve with Vernier Graduations to find your measurements.

Vernier:
We had to use a vernier to measure the drill gauge and we will use it to measure a stock material to the correct size.
How to use Vernier gauge:
- Unscrew the small screw on the movable slide.
- Slide the slide out until your material fits in the gap.
- Push the slide until it won't move anymore.
- Read the numbers on the under part so you now know what length your material is.

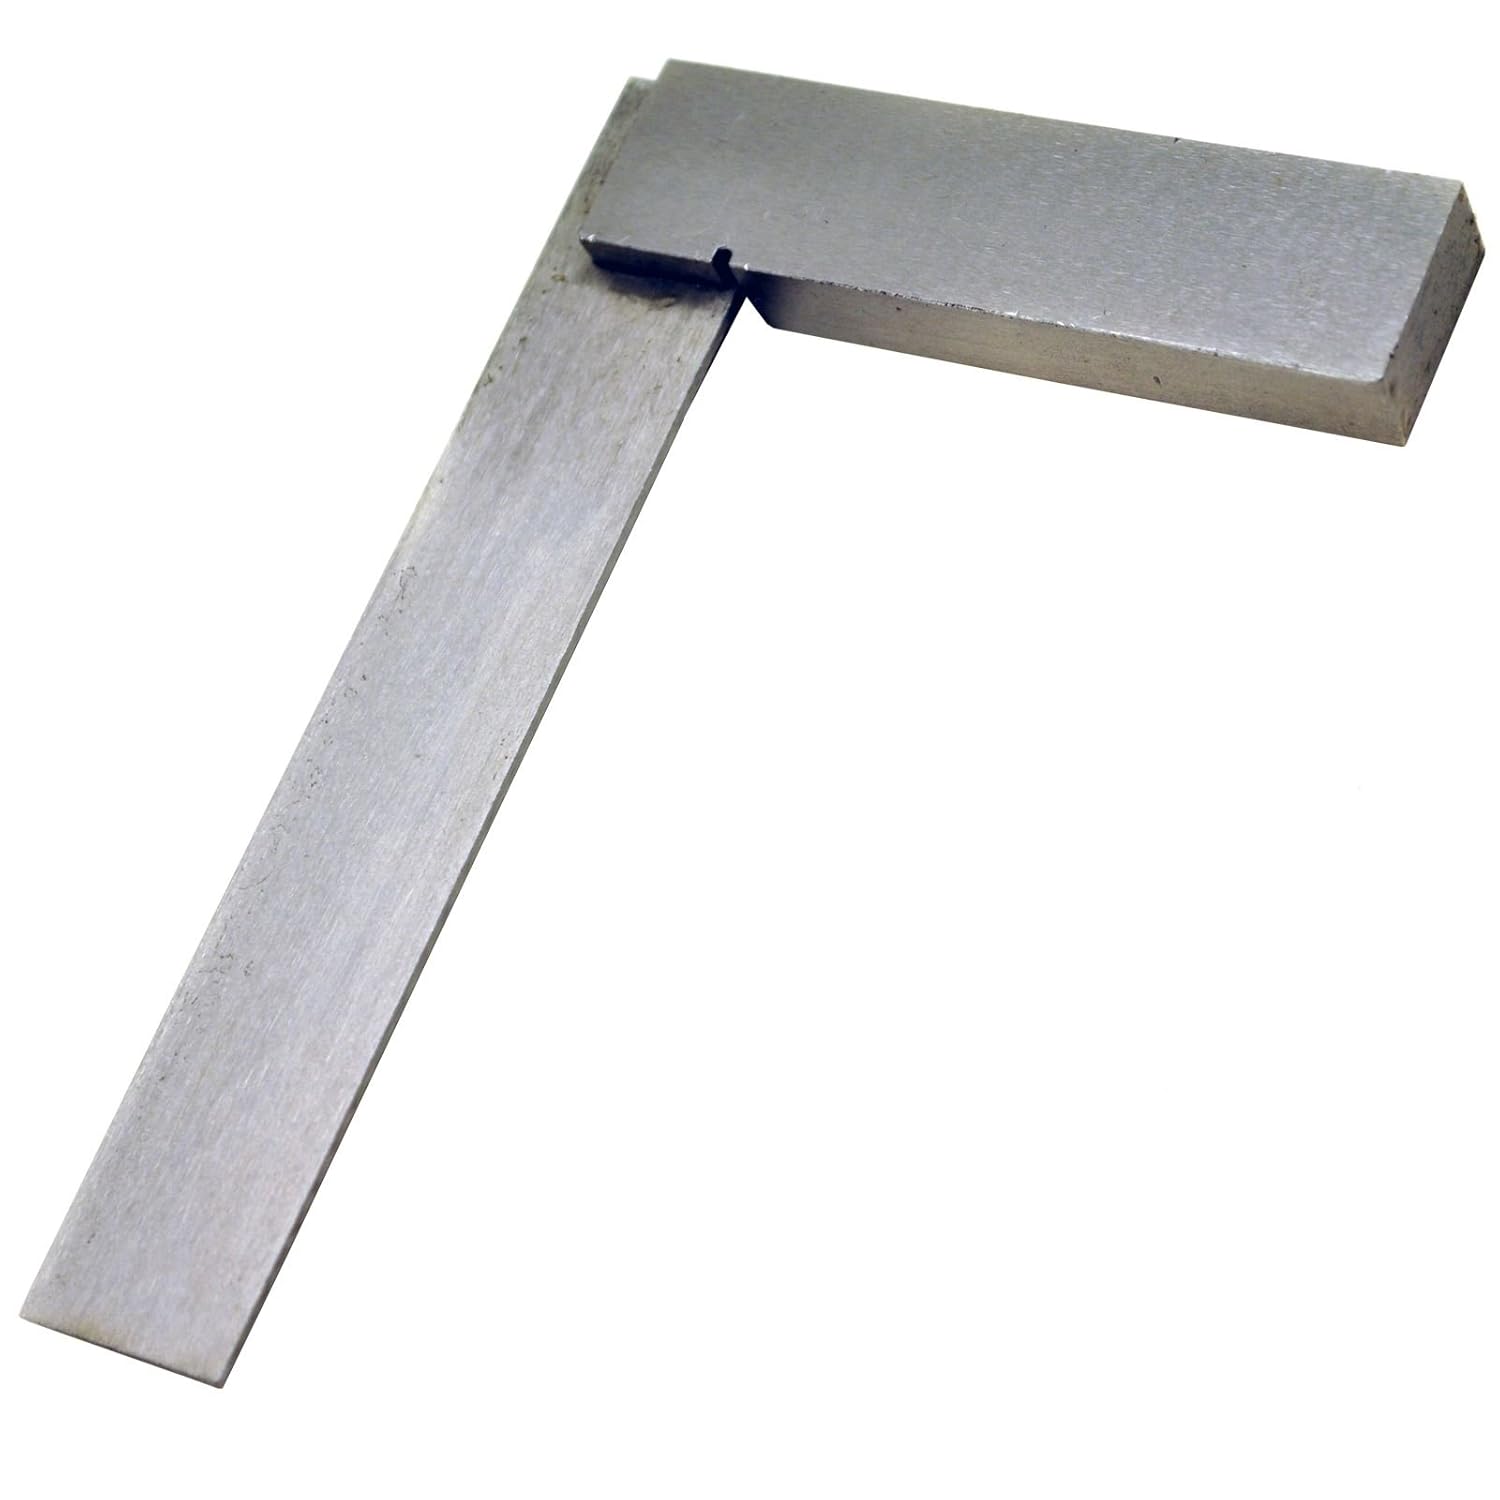
Engineers square:
A engineers square is to help mark out the lines.
Drill press:
The drill press is the most important thing in the workshop because it drills everything we need it to. 
- the handful
- drill bit
- the speed and feeds
- the platform
Centre Punch:
The center punch tool is used to create a minor pilot hole so that your drill can find where you need it to drill.
The center punch tool is used to create a minor pilot hole so that your drill can find where you need it to drill.

Punch numbers:

This Tool is used to mark out numbers onto your work.
Hammer:
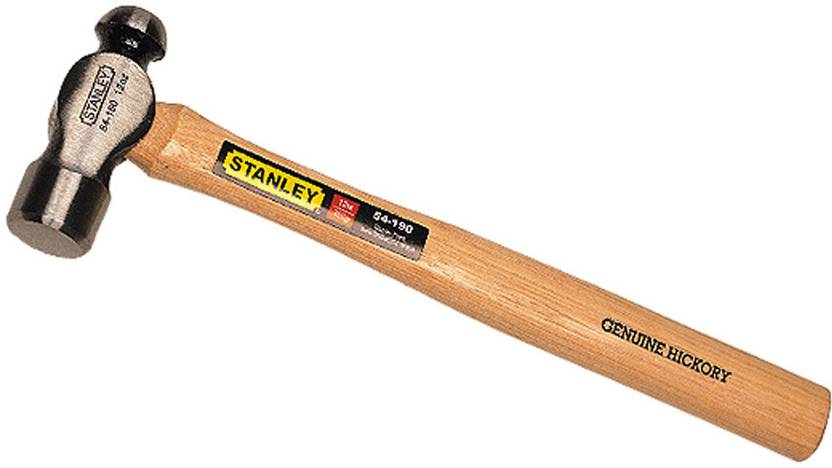
A hammer is a handheld tool used to strike another object. It consists of a handle to which is attached a heavy head, usually made of metal, with one or more striking surfaces. There are dozens of different types of hammers. The most common is a claw hammer, which is used to drive and pull nails.
What I have learned.
I have learned to clean up my work to a state where I can paint it. I have learned how to use a micrometer and vernier to measure my work for drill spots and scribe locations.
What I found difficult.
I found it difficult to get all of my tasks done on time and to the quality I needed it to be at.
I found it difficult to get all of my tasks done on time and to the quality I needed it to be at.
How I got over these Difficulties
I got over these difficulties by trying harder and making my work better and make changes to my style of working.
I liked it good work mate. i really learnt what all the tools are.
ReplyDeleteHey Connor, I like how you have inserted images of the tools you had used during the process of making your drill gauge and how you have described what they are and what they do and another thing I like is how you have said what you found hard and how you overcame your struggles in this topic.
ReplyDelete